Cutting reflective vinyl requires precise operation and appropriate tools to ensure the integrity, reflective performance, and adhesive effectiveness of the material. Below are detailed steps and precautions:
I. Tools and Materials Preparation
1.Cutting Tools
Manual Tools: Sharp cutting knife, utility knife, steel ruler or metal straightedge.
Automatic Tools: Electric slitting machine, CNC cutting machine (suitable for mass production or high-precision requirements).
2.Auxiliary Tools
Clean soft cloth or lint-free paper (to wipe off dust).
Tape measure, marker pen (for marking cutting lines).
Anti-slip mat or cutting mat (to prevent slipping and protect the work surface).
3.Confirm Reflective Vinyl Type
Adjust cutting methods based on material type (e.g.,high-intensity grade, engineering grade, commercial grade).
Check for adhesive backing (avoid cutting through the protective liner).
II. Cutting Steps
1.Measurement and Marking
Use a tape measure to determine the required size, and mark lines on the non-reflective side or protective liner of the vinyl.
For rolled materials, to prevent curling that flatten them on a clean surface and weigh down the edges.
2.Securing the Vinyl
Use low-tack tape or an anti-slip mat to fix the film in place, preventing movement during cutting.
For large areas, secure sections incrementally to ensure stability.
3.Cutting Process
Manual Cutting:
Align the steel ruler with the marked line and press firmly to prevent slipping.
Tilt the blade at approximately 30° and cut smoothly along the ruler’s edge (avoid vertical cuts to minimize burrs).
For thicker films, make 2-3 light passes to gradually deepen the cut.
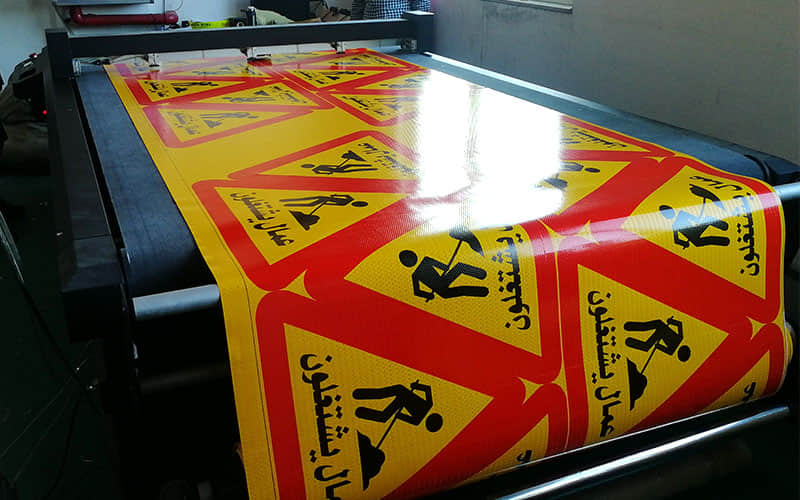
Machine Cutting:
Input cutting parameters, ensuring moderate machine pressure to avoid damaging the material.
Regularly check blade sharpness and clean debris.
4.Inspection and Finishing
Gently lift the edge to confirm a clean cut.
Remove burrs with fine sandpaper or a dedicated edge trimmer.
III. Precautions
1.Tool Selection
Use new or sharp blades; dull blades may cause fraying, delamination, or adhesive leakage.
Replace blades every 10-15 meters (adjust based on material hardness).
2.Protecting the Reflective Layer and Adhesive
Avoid scratching the reflective surface, as this compromises performance.
For adhesive-backed films, control cutting depth to avoid penetrating the protective liner.
3.Environmental Requirements
Work in a dust-free, dry environment to ensure adhesion quality.
Maintain temperatures between 15–25°C; low temperatures may cause brittleness.
4.Special Shapes
For complex shapes (e.g., text, icons), use CNC or laser cutting machines and test on small samples first.

IV. Post-Cutting Handling
1.Edge Cleaning
Wipe edges with a lint-free cloth dipped in alcohol to remove debris and oils.
2.Storage
Store cut film flat or rolled (reflective side outward), avoiding folds or heavy pressure.
Keep away from heat, direct sunlight, and humidity.
V. Troubleshooting
Lifted Edges: Caused by excessive cutting depth damaging the adhesive. Adjust blade pressure.
Reflective Layer Peeling: Check blade sharpness or material quality.
Size Deviation: Calibrate tools regularly; follow a "mark first, secure later" process for manual cuts.
By following these steps, you can efficiently and accurately cut reflective vinyl to meet application requirements. For large-scale production, professional cutting equipment is recommended to ensure consistency and productivity.